To create Splash Screen in Android Studio, You just have to follow some simple steps given below.
step 1
Open Android Studio.

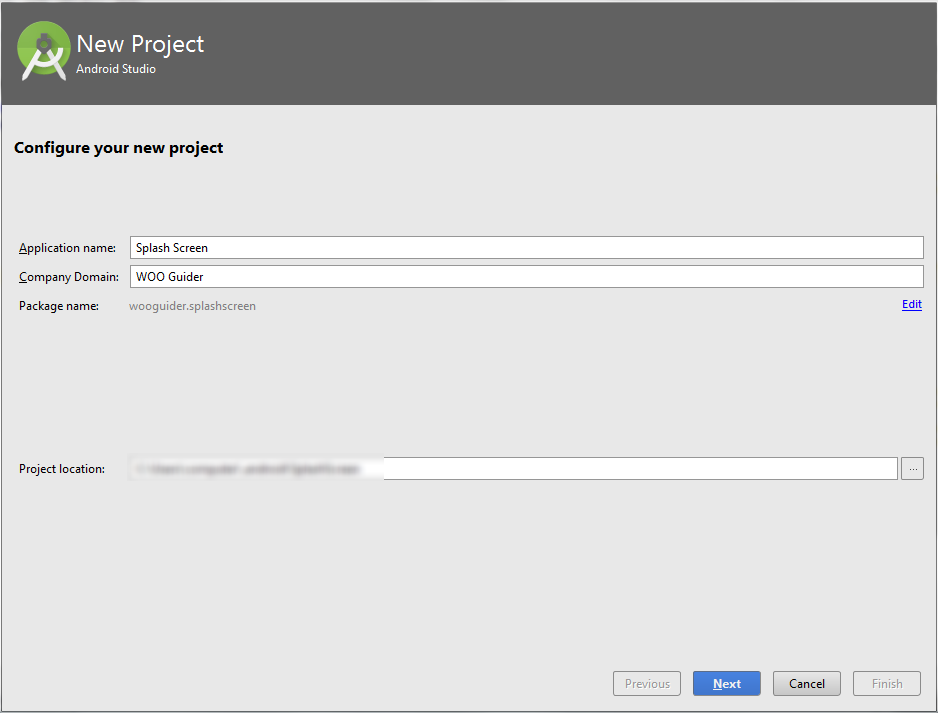
step 2
Set the Application name, Company domain & package name.
step 3
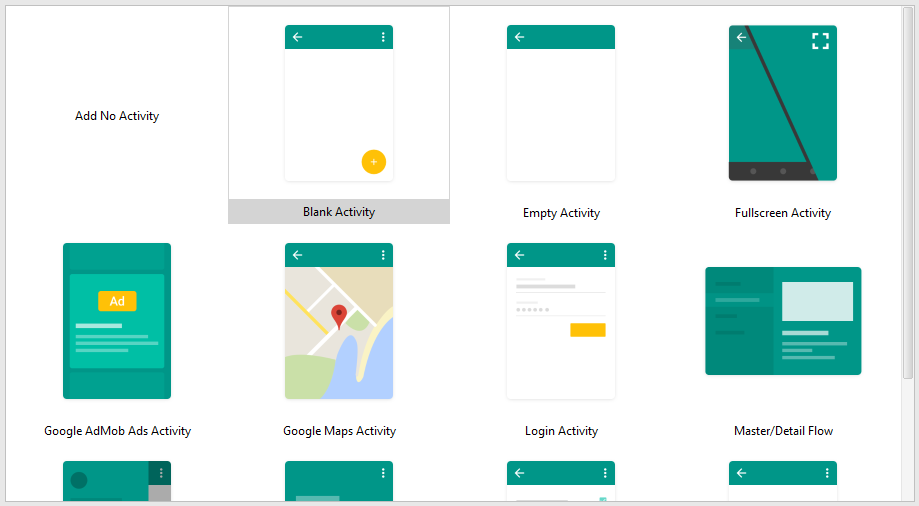
Choose layout for your Application. (I prefer Blank Activity for Starter Apps)
step 3
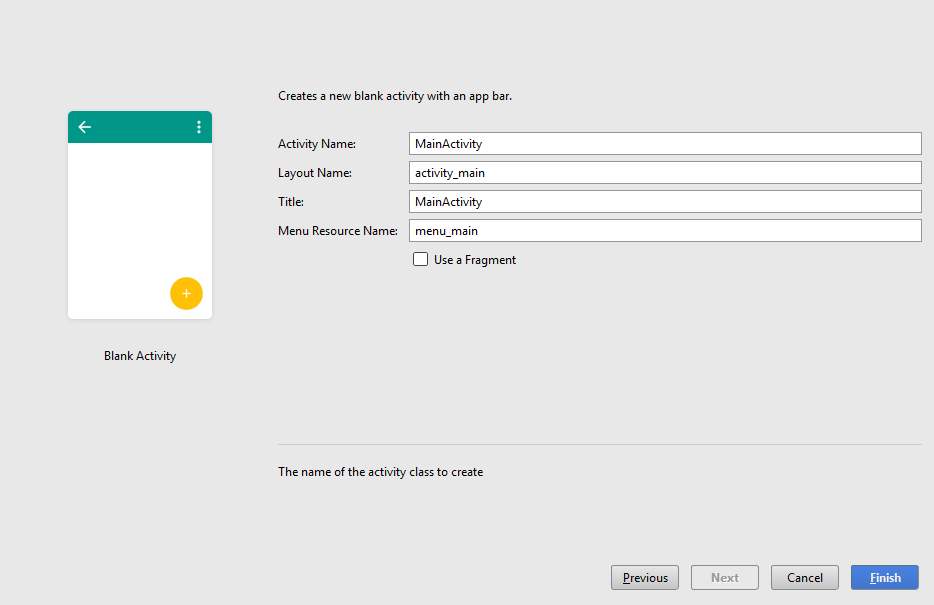
If you click the next button, The nnext screen looks like this. It is perfect. Now, Click on Finish button.
step 4
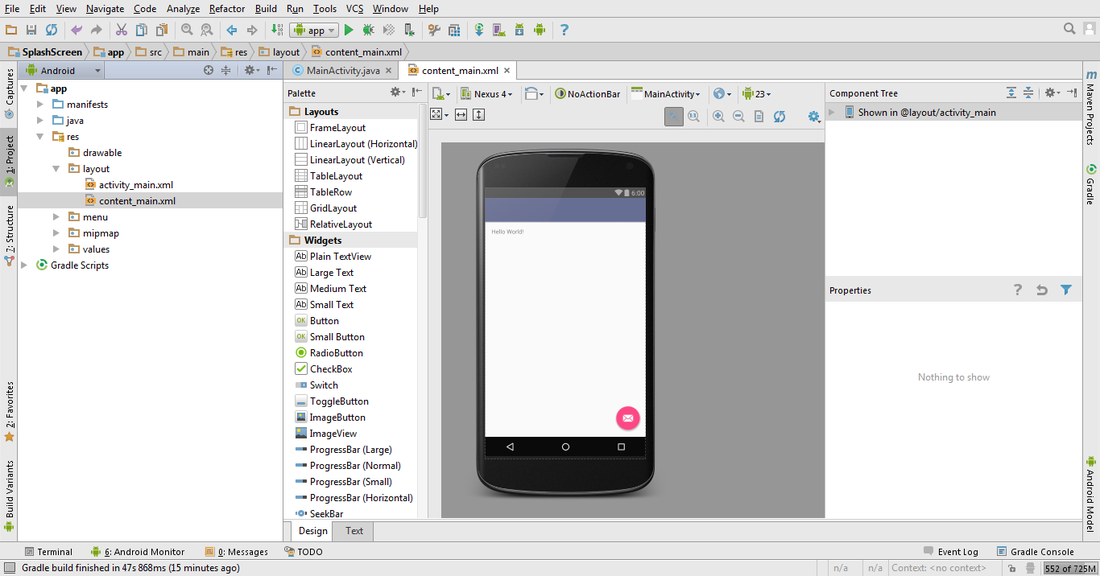
Do you pressed the Finish button? Good, Now your Android Project is being proceed to build a Gradle. Here it is, See how it's looks...

step 5
OK. Now see at the bottom of your Android Studio screen. I says Gradle build finished.
step 6
1.
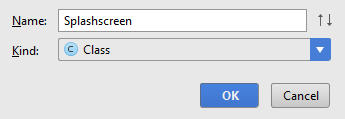
Create a new Java class. To do that, Go to java folder > Java Classes with package name (Not AndroidTest) > Right click on Java Classes folder (first one) > Select New > Java Class. That's it. And name the new Java Class as "Splashscreen". (Do not Change it. use same text.)
2.
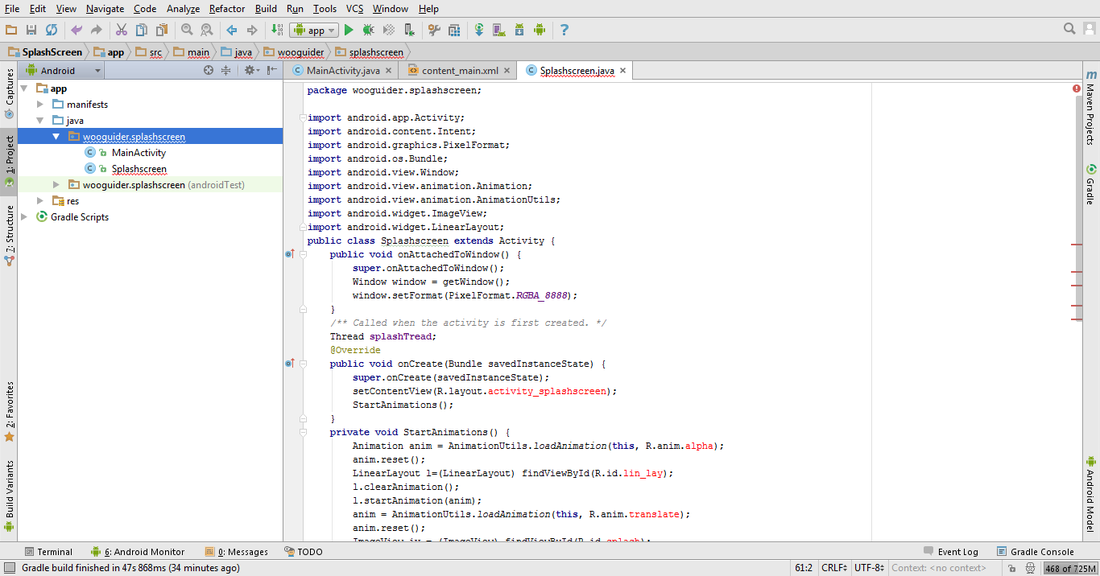
Now copy the source code given below in the Splashscreen Class.
import android.app.Activity;
import android.content.Intent;
import android.graphics.PixelFormat;
import android.os.Bundle;
import android.view.Window;
import android.view.animation.Animation;
import android.view.animation.AnimationUtils;
import android.widget.ImageView;
import android.widget.LinearLayout;
public class Splashscreen extends Activity {
public void onAttachedToWindow() {
super.onAttachedToWindow();
Window window = getWindow();
window.setFormat(PixelFormat.RGBA_8888);
}
/** Called when the activity is first created. */
Thread splashTread;
@Override
public void onCreate(Bundle savedInstanceState) {
super.onCreate(savedInstanceState);
setContentView(R.layout.activity_splashscreen);
StartAnimations();
}
private void StartAnimations() {
Animation anim = AnimationUtils.loadAnimation(this, R.anim.alpha);
anim.reset();
LinearLayout l=(LinearLayout) findViewById(R.id.lin_lay);
l.clearAnimation();
l.startAnimation(anim);
anim = AnimationUtils.loadAnimation(this, R.anim.translate);
anim.reset();
ImageView iv = (ImageView) findViewById(R.id.splash);
iv.clearAnimation();
iv.startAnimation(anim);
splashTread = new Thread() {
@Override
public void run() {
try {
int waited = 0;
// Splash screen pause time
while (waited < 3500) {
sleep(100);
waited += 100;
}
Intent intent = new Intent(Splashscreen.this,
MainActivity.class);
intent.setFlags(Intent.FLAG_ACTIVITY_NO_ANIMATION);
startActivity(intent);
Splashscreen.this.finish();
} catch (InterruptedException e) {
// do nothing
} finally {
Splashscreen.this.finish();
}
}
};
splashTread.start();
}
}
Yes. It looks like this. (Ignore the errors, It'll fix after future steps)
step 7
1.
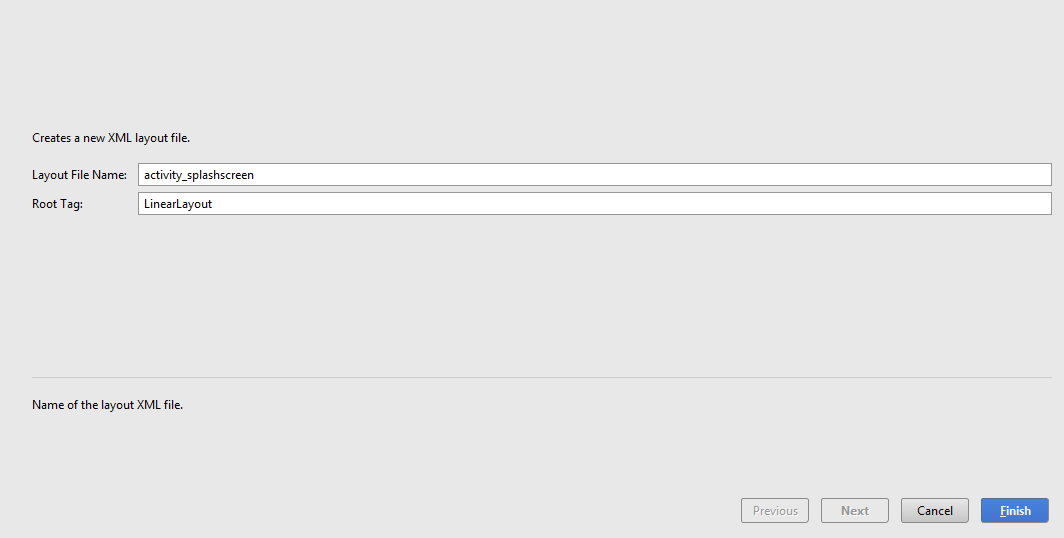
Now, Create the layout file for Splash screen.
2.
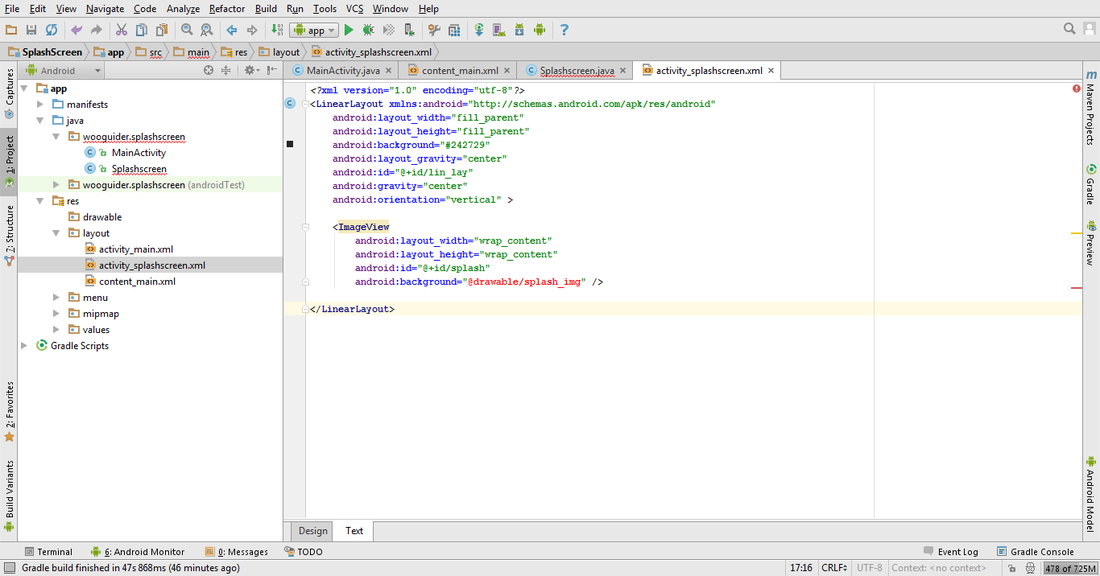
Copy the below source code and paste it in this layout file.
<?xml version="1.0" encoding="utf-8"?>
<LinearLayout xmlns:android="http://schemas.android.com/apk/res/android"
android:layout_width="fill_parent"
android:layout_height="fill_parent"
android:background="#242729"
android:layout_gravity="center"
android:id="@+id/lin_lay"
android:gravity="center"
android:orientation="vertical" >
<ImageView
android:layout_width="wrap_content"
android:layout_height="wrap_content"
android:id="@+id/splash"
android:background="@drawable/splash_img" />
</LinearLayout>
step 8
1.
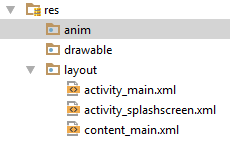
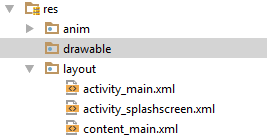
Now, Create a new Directory in "res" Folder named "anim".
2.
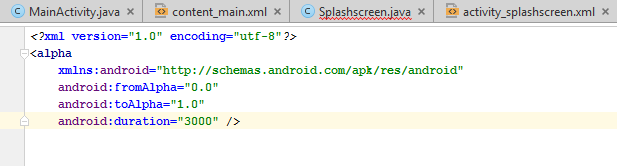
In the anim folder, Create new Animation resource file and name it as "alpha". Paste the below source code into the alpha.xml
<?xml version="1.0" encoding="utf-8"?>
<alpha
xmlns:android="http://schemas.android.com/apk/res/android"
android:fromAlpha="0.0"
android:toAlpha="1.0"
android:duration="3000" />
<alpha
xmlns:android="http://schemas.android.com/apk/res/android"
android:fromAlpha="0.0"
android:toAlpha="1.0"
android:duration="3000" />
3.
Now, Create another Animation resource file named "translate" in anim folder. Paste the below code in translate.xml
<?xml version="1.0" encoding="utf-8"?>
<set
xmlns:android="http://schemas.android.com/apk/res/android">
<translate
xmlns:android="http://schemas.android.com/apk/res/android"
android:fromXDelta="0%"
android:toXDelta="0%"
android:fromYDelta="200%"
android:toYDelta="0%"
android:duration="2000"
android:zAdjustment="top" />
</set>
<set
xmlns:android="http://schemas.android.com/apk/res/android">
<translate
xmlns:android="http://schemas.android.com/apk/res/android"
android:fromXDelta="0%"
android:toXDelta="0%"
android:fromYDelta="200%"
android:toYDelta="0%"
android:duration="2000"
android:zAdjustment="top" />
</set>
step 9
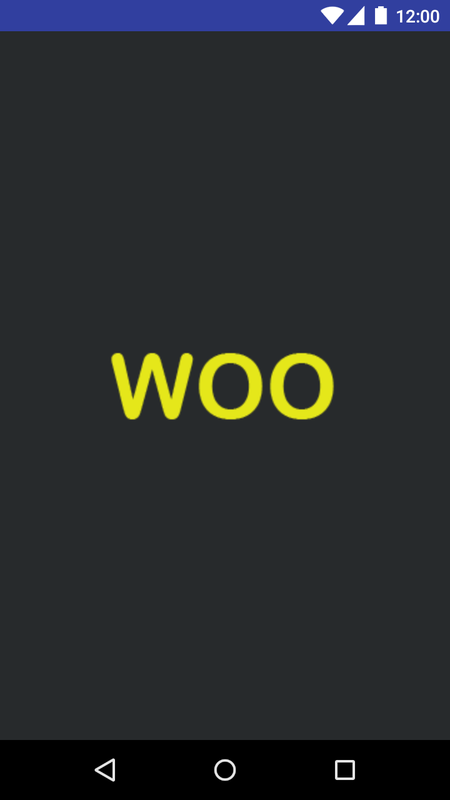
Create .png file formatted image for Splash Screen (Dimension 300x100), And insert the image in your app's drawable folder. (see the below image)
Note : The below .png file is just for your knowledge. You can put yours.

step 10
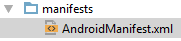
Go to AndroidManifest.xml, Which is shown in below image.
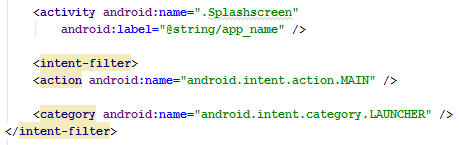
And put the below code as you can see in the image. (Image is given below the source code)
<activity android:name=".Splashscreen"
android:label="@string/app_name" />
<intent-filter>
<action android:name="android.intent.action.MAIN" />
<category android:name="android.intent.category.LAUNCHER" />
</intent-filter>
android:label="@string/app_name" />
<intent-filter>
<action android:name="android.intent.action.MAIN" />
<category android:name="android.intent.category.LAUNCHER" />
</intent-filter>
Now, after adding this code. See the .MainActivity (in the AndroidManifest). You have to change something as you can see the image below.
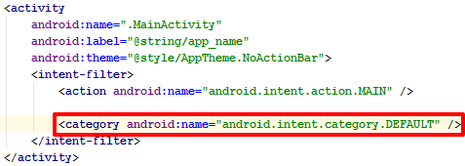
Change the following code...
<category android:name="android.intent.category.LAUNCHER" />
like this
<category android:name="android.intent.category.DEFAULT" />
ALL DONE
Now, You just want to build APK file for this Project. (See the image to know how to do that.)
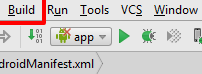
Now, Select "Build APK" option to make APK file of the Project.
run the apk file in your phone
BEFORE
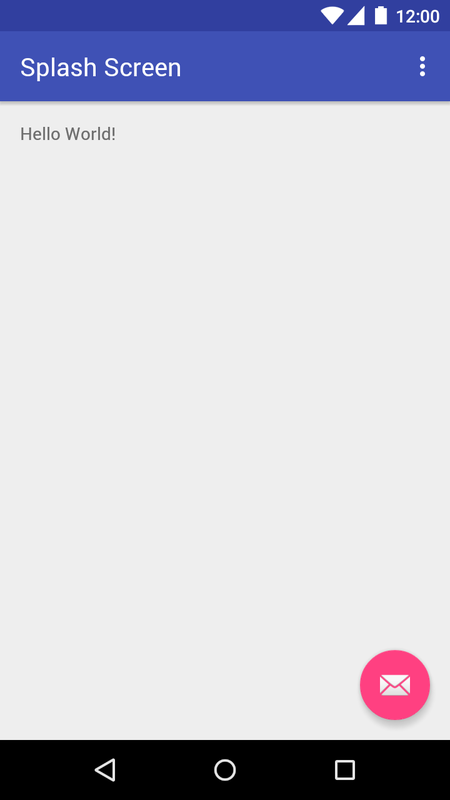
AFTER